Many of you already familiar with the concept of reverse proxy – A reverse proxy taking requests from the Internet and forwarding them to servers in an internal network. Those making requests to the proxy may not be aware of the internal network. As Forefront TMG 2010 is becoming end of life, at the moment only supported Reverse Proxy solution from Microsoft is IIS ARR.
My most favour feature is it capable of doing routing based in URL request. If you are running multiple web servers like me, you’ll end up having a large pool of public IP address NAT to each web server. With ARR, we only need a single public IP, based on the URL header, it will redirect you to the server/server farm, and is easy for me publish/unpublish my web servers. It others feature like
- Hide the characteristic of the origin server
- Load balancer
- SSL offload
- Caching
Prerequisites to Install IIS ARR
1. The IIS ARR server need not be domain joined. It's your choice to decide if you want to domain join this server or not.
2. The IIS ARR server should have two NICs, one for the internal network and the other for the external network.
3. If you're not using an internal DNS server, you should update the HOSTS file on the IIS ARR server so that it can perform name resolution for the internal CAS and the published Exchange namespaces.
4. For SSL binding, 1 public IP and port 443 can only bind to 1 certificate, so make sure you use wild card certificate. If you are hosting multiple domain, you can either use SAN certificate or use multiple IP for each different certificate.
Install ARR
1. Install IIS on Windows Server 2012R2 with all defaults, nothing too smart.
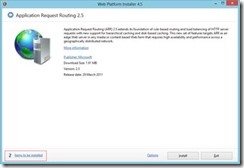
2. Use Microsoft Web Platform Installer to install IIS ARR 3.0
3. You’ll get the first installation screen, telling you it will install 2 features:
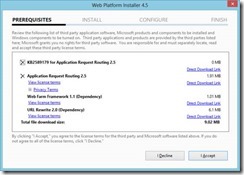
4. Hitting “Install” will show you the features you’re about to install. That’s 4 components all together:
5. Click “I Accept” and enjoy the commercial content from Microsoft whilst the installation is taking place:
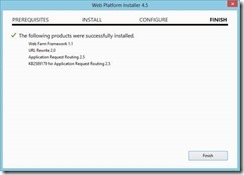
6. When the installation is finished, You’ll see it has installed four components:
7. Open IIS Manager, and you’ll see you have two new features:
· “Server Farms” under the server node.
· “Web Platform Installer” in the management node.
SSL Binding
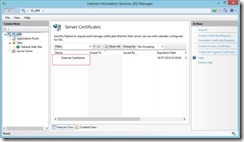
1. Import your external certificate to the server:
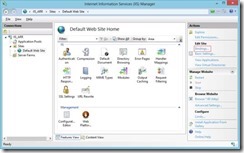
2. Navigate to your default website in IIS Manager and click “Bindings”:
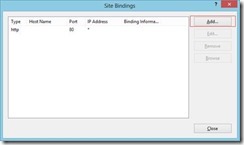
3. You’ll see it has only the HTTP binding. Click “Add” to edit the HTTPS binding:
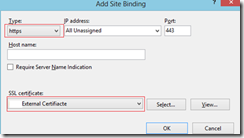
4. Choose “HTTPS” from the drop down menu, then choose your External certificate, and press “OK”:
5. This completes the SSL certificate configuration of the web site.
Note: Remember the rule for SSL - 1 public IP and port 443 can only bind to 1 certificate, so make sure you use wild card certificate. If you are hosting multiple domain, you can either use SAN certificate or use multiple IP for each different certificate.
Publishing website via MS IIS ARR
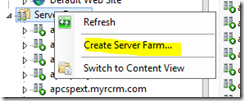
1. From IIS, Right click Server farm and “Create Server farm”
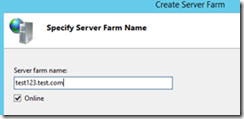
2. Enter a server farm name, for naming conventions, make it the same as your public name.
3. On this screen, make sure the server address is correct and reachable, otherwise you might want to create a host entry. Make sure the http and https port is correct then click “Add” and finished.
4. If the message pops up, click NO
5. Navigate to the server farm and you can configure other settings as you wished.
6. Navigate to the root and select URL rewrite
7. Add a blank rule
8. Create the rule according to image below,
I like to make the name same as public URL
Under confitions,
{HTTPS} ---> this means SSL and HTTPS is turned on
{HTTP_HOST} --> this is the public URL
9. Under the action type, choose “Route to server farm”
10. Click Apply and you are finished.
11. Next step is configure Public DNS and make sure your firewall/router has port forwarding rules applied.
Reference:
https://alinzaman.wordpress.com/2013/09/18/reverse-proxy-for-websites/
